

Set Up a Portable Raspberry Pi Workstation with CrowView Note 14
This tutorial shows how to set up a Raspberry Pi Zero with the CrowView Note 14 to create a portable laptop-style Raspberry Pi workstation. The CrowView Note 14 provides a built-in 14-inch display, keyboard, and touchpad, so the Raspberry Pi can be used without preparing a separate monitor, keyboard, or mouse.
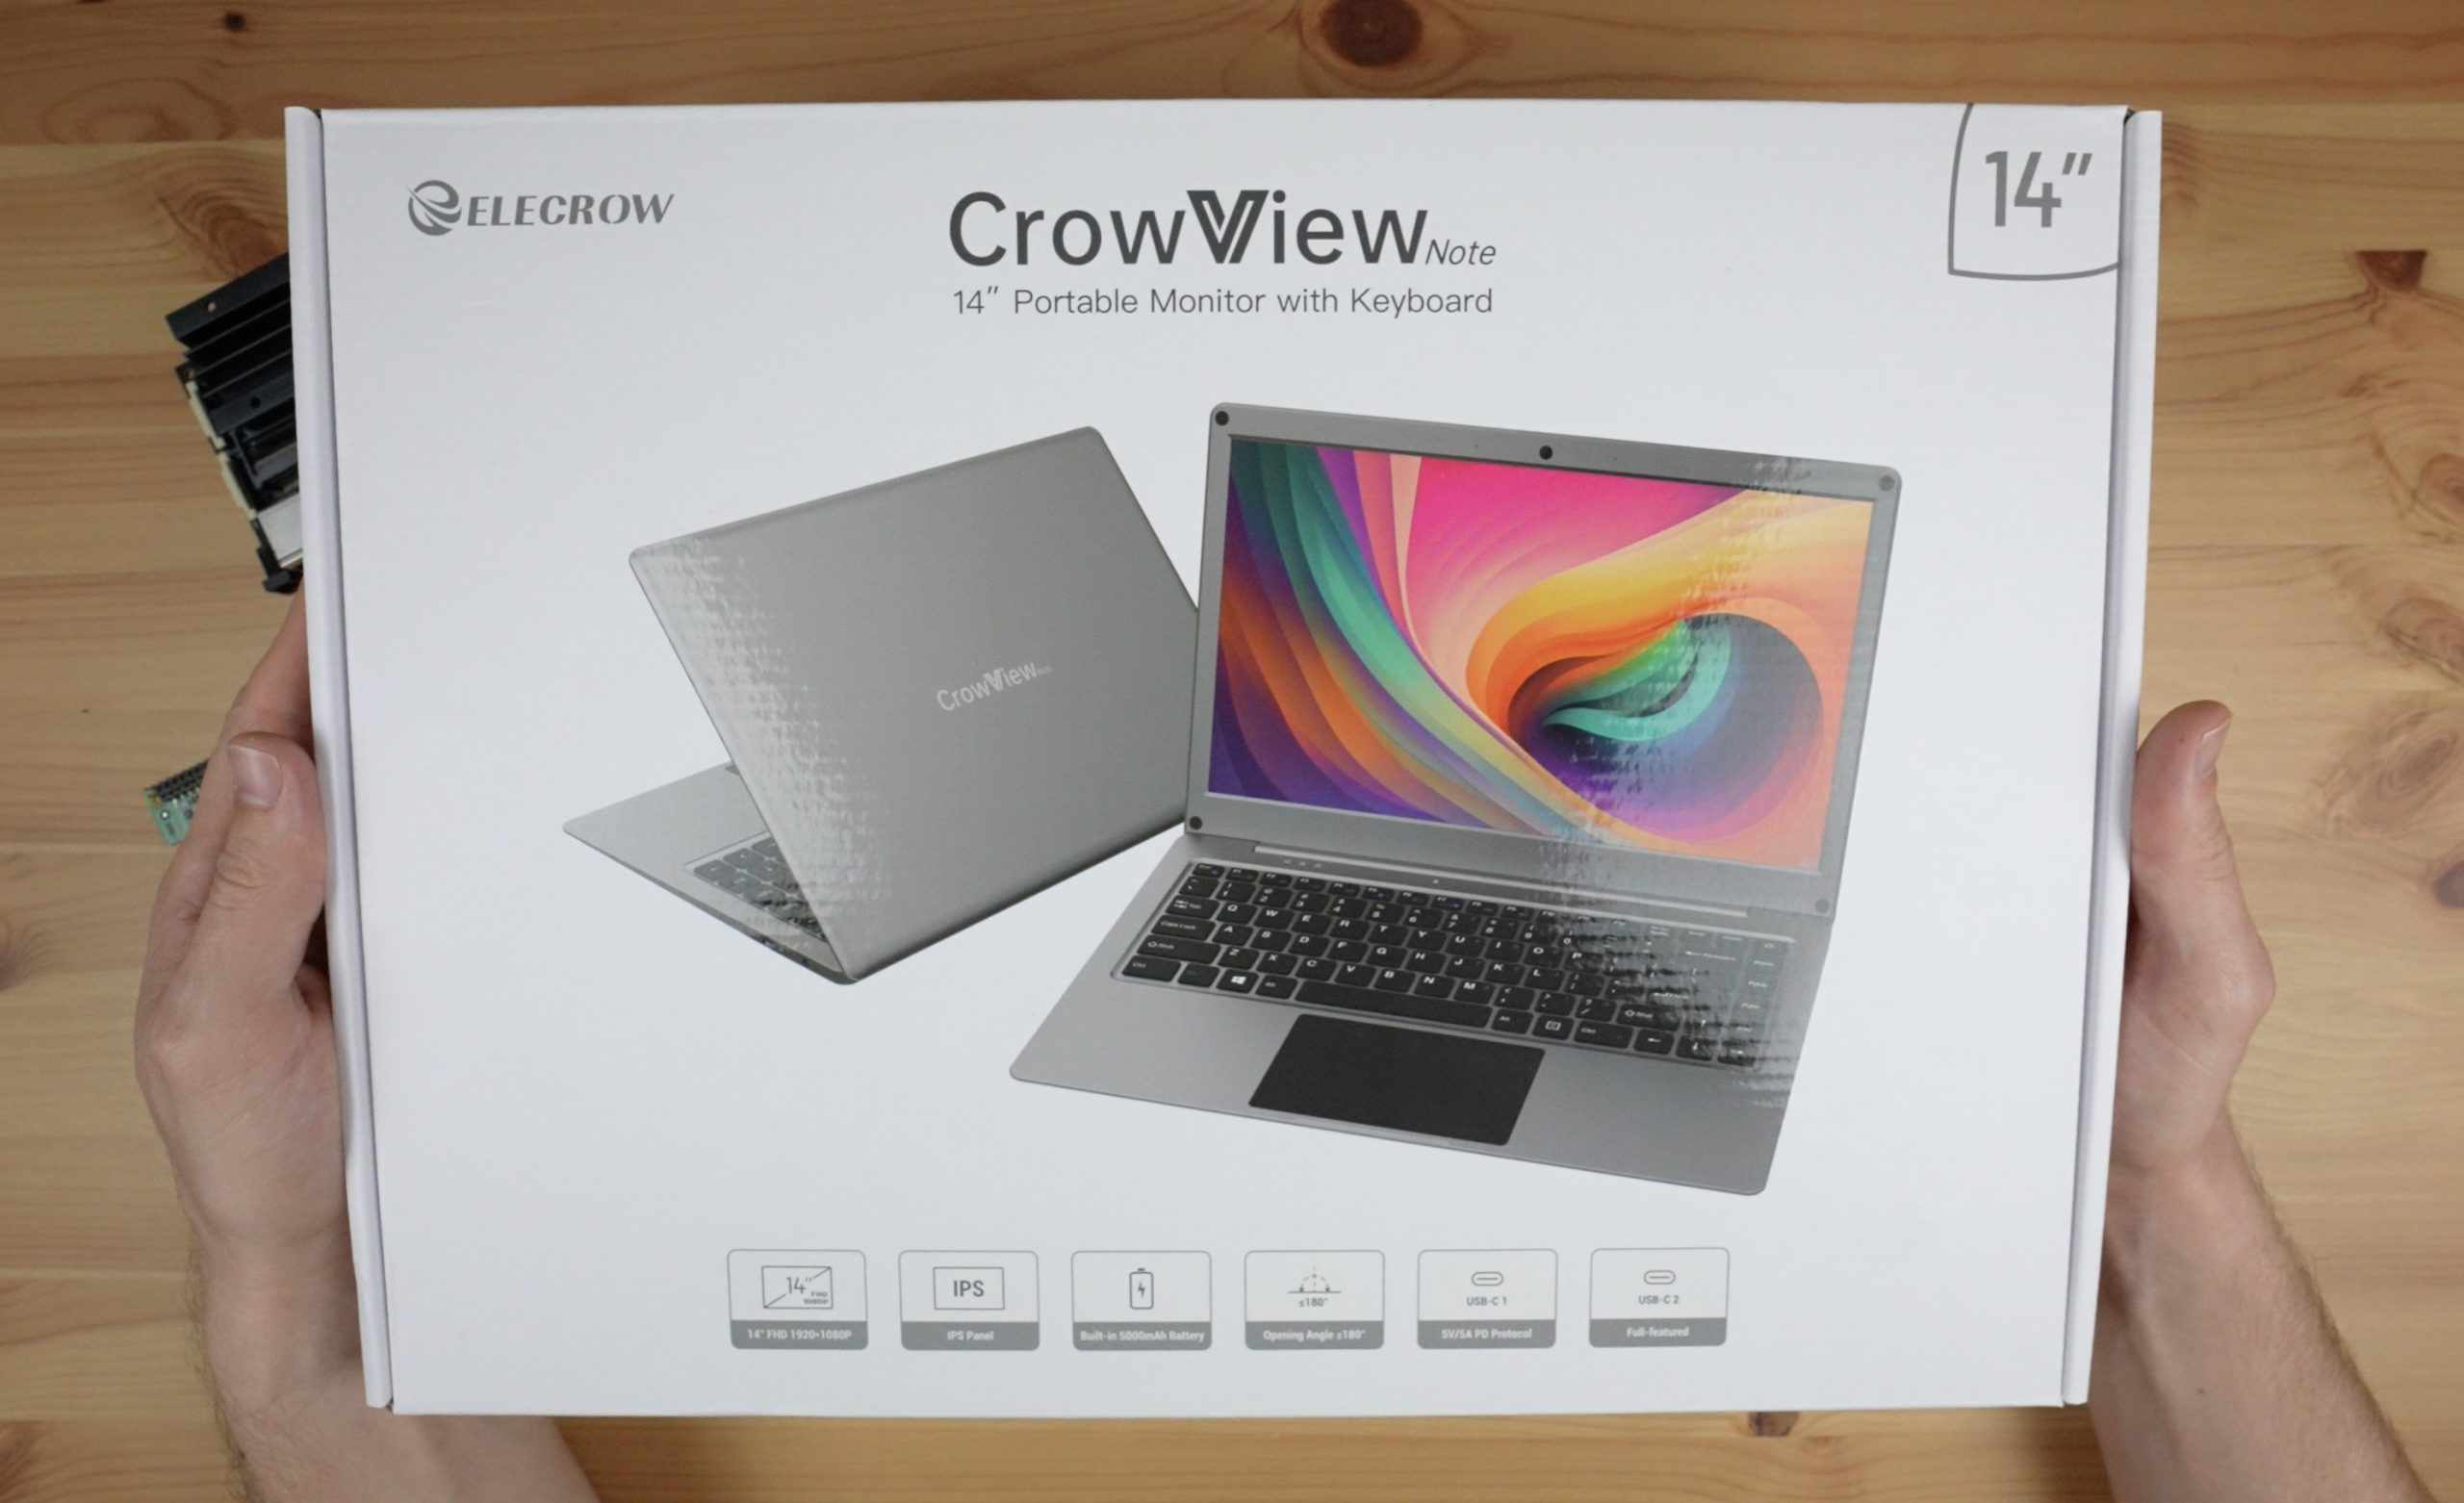
Elecrow CrowView Note 14 preview.
Overview
The CrowView Note 14 is useful for Raspberry Pi projects because it already includes a display, keyboard, and touchpad. For this setup, the Raspberry Pi Zero uses a microSD card as its boot storage, and Raspberry Pi Imager is used to install Raspberry Pi OS.
Project Use Case
This setup is useful for Raspberry Pi testing, lightweight Linux applications, programming, portable demonstrations, and SBC-based prototyping.
Hardware Components
The hardware setup uses the CrowView Note 14 as the display and input interface, while the Raspberry Pi Zero runs Raspberry Pi OS from a prepared microSD card.
Hardware Components
- CrowView Note 14
- Raspberry Pi Zero
- microSD card
- USB cable or adapter
- Micro HDMI / display cable or adapter
- Power supply
Software Tools
- Raspberry Pi Imager
- Raspberry Pi OS
- Computer or laptop for preparing the microSD card
Main Connections
- microSD card inserted into Raspberry Pi Zero
- Display output connected to CrowView Note 14
- USB input connection for keyboard and touchpad
- Power connection for the Raspberry Pi and CrowView Note
Software Used
Raspberry Pi Imager
Raspberry Pi Imager is used to prepare the microSD card. It can also preconfigure username, password, Wi-Fi, hostname, and SSH before the first boot.
Raspberry Pi OS
Raspberry Pi OS is installed on the microSD card and allows the Raspberry Pi Zero to boot into a usable desktop or Linux environment.
Application Discussion
The CrowView Note 14 works like a laptop-style interface for single-board computers. It provides the display and input devices needed to interact with the Raspberry Pi, making the setup cleaner and more portable.
CrowView Note 14
The CrowView Note 14 provides a built-in 14-inch display, keyboard, and touchpad. This allows the Raspberry Pi Zero to be used without preparing separate external desktop accessories.
Raspberry Pi Zero
The Raspberry Pi Zero is a compact single-board computer that can run Raspberry Pi OS from a microSD card. Once prepared, it can boot directly and display its desktop through the CrowView Note.
Portable SBC Workstation
This setup makes the Raspberry Pi easier to use for programming, testing, Linux learning, and portable demonstrations.
Hardware Setup
The Raspberry Pi Zero connects to the CrowView Note 14 through display output, USB input, and power connections. The microSD card with Raspberry Pi OS must be inserted before powering the Raspberry Pi Zero.
Raspberry Pi Zero
│
├── microSD Card with Raspberry Pi OS
├── Display Output → CrowView Note 14 Display
├── USB Input Connection → CrowView Note Keyboard and Touchpad
└── Power SupplyAssembly Instructions
Insert the Prepared microSD Card
Insert the prepared microSD card into the Raspberry Pi Zero before powering the board.
Connect the Display Output
Connect the Raspberry Pi Zero display output to the CrowView Note 14 so the Raspberry Pi desktop can appear on the built-in screen.
Connect USB Input
Connect the required USB cable or adapter so the CrowView Note keyboard and touchpad can work as input devices for the Raspberry Pi Zero.
Power the Setup
Power the CrowView Note 14 and Raspberry Pi Zero. Once connected, the CrowView Note acts as the display, keyboard, and touchpad interface.
Software Setup
Raspberry Pi Imager is used to flash Raspberry Pi OS to the microSD card. The microSD card is then inserted into the Raspberry Pi Zero so the system can boot into Raspberry Pi OS.
Prepare the Raspberry Pi OS Image
Download and install Raspberry Pi Imager on your computer. Insert the microSD card, select the Raspberry Pi device, choose Raspberry Pi OS, select the microSD card as storage, and write the image.
Configure Optional Settings
Before writing the image, you may configure Wi-Fi, username, password, hostname, and SSH to make first boot setup faster.
Insert the microSD Card
After flashing the operating system, safely remove the microSD card from your computer and insert it into the Raspberry Pi Zero.
Connect the Raspberry Pi Zero
Connect the Raspberry Pi Zero to the CrowView Note 14 using the required display and USB connections.
Power On and Boot
Power on the CrowView Note 14 and Raspberry Pi Zero. The Raspberry Pi boot screen or loading messages should appear on the CrowView Note display.
Complete First Boot Setup
Complete the Raspberry Pi OS first boot setup, connect to Wi-Fi, update the system, open the terminal, install required packages, and begin using the Raspberry Pi as a portable mini computer.
After First Boot
- Set your location and time zone.
- Connect to Wi-Fi.
- Update the system.
- Open the terminal.
- Install required packages.
- Start using the Raspberry Pi as a portable mini computer.
Code
Code is not applicable for this tutorial because this project is only a setup guide for using the CrowView Note 14 with a Raspberry Pi Zero. No custom Arduino, Python, or program code is required for the basic setup.
Code Breakdown / Configuration Breakdown
Since this project is mainly a Raspberry Pi OS setup guide, this section explains the configuration workflow instead of breaking down a program source code.
Raspberry Pi Imager
Used to write Raspberry Pi OS to the microSD card and prepare the Raspberry Pi Zero for booting.
Optional OS Settings
Username, password, Wi-Fi, hostname, and SSH can be configured before the first boot to make setup faster.
First Boot Setup
After booting, users can finish the Raspberry Pi OS setup, connect to Wi-Fi, update the system, and install packages.
Documentation / Output Guide
After the setup is complete, the Raspberry Pi desktop should appear on the CrowView Note 14 display, and the built-in keyboard and touchpad should work as the main input devices.
Video Demonstration
The videos below show the CrowView Note 14 setup and product reference. Since these are YouTube Shorts, they are displayed in a vertical mobile-style layout.
Conclusion
This project demonstrates how to set up a Raspberry Pi Zero with the CrowView Note 14 to create a portable Raspberry Pi workstation. The main advantage of this setup is convenience because the CrowView Note 14 already provides the display, keyboard, and touchpad needed for the Raspberry Pi.
Related Projects and Improvements
This setup can be improved by installing lightweight programming tools, setting up SSH for remote access, adding Python-based Raspberry Pi projects, running IoT dashboards, connecting sensors and GPIO modules, or using the setup for portable robotics and automation demos.
Project Authors
[Optional team or group name]
References
These are the websites and documentation sources used as references. They are listed as names or plain website addresses only, without active external links.


